Choose a USB Microphone for Calls, Voiceovers and a Real Room
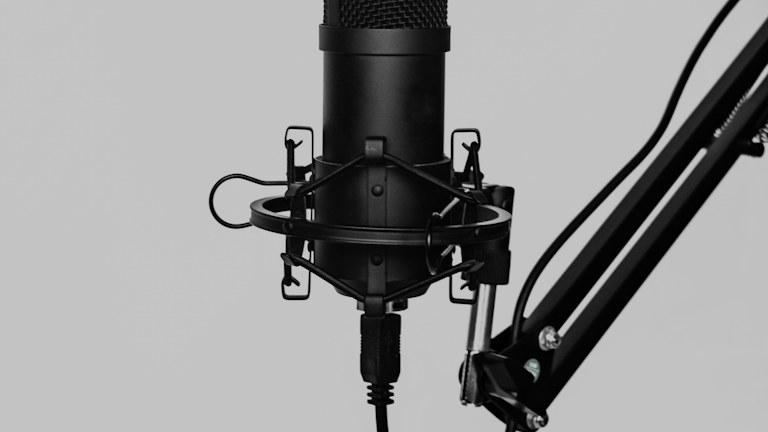
Photo: Klim Musalimov / Unsplash License. Stock photograph for illustration; no product endorsement is implied.
A USB microphone can make recording more convenient, but buying one does not automatically remove room echo, keyboard noise or inconsistent speaking distance. The microphone captures an environment as well as a voice. A useful choice begins with where you work, how you speak and what the recording or call needs to accomplish.
This guide provides selection criteria and a simple comparison process rather than claiming hands-on tests of named models. Check the manufacturer's current specifications, supported operating systems and setup guidance. Stock photography illustrates the topic and is not evidence of a tested recommendation.
In this guide
- Identify the main use
- Listen to the room before buying
- Understand pickup direction and placement
- Compare controls you will use daily
- Consider monitoring and delay
- Plan the stand and desk layout
- Check connection and software compatibility
- Treat recording specifications in context
- Test with a repeatable speaking sample
Identify the main use
Calls, recorded voiceovers, interviews and instrument recording require different priorities. A microphone intended to sit beside a keyboard during meetings needs a practical placement and mute routine. A voiceover setup may justify a separate stand, closer positioning and more attention to the room. Define the ordinary use before comparing accessories and recording specifications.
Also decide whether one person or several people need to be captured. A setup optimized for a single speaker at a consistent distance may not suit a group around a table. Multiple pickup-pattern options can be useful in some cases, but only if you understand when to use them. More modes do not automatically improve a task that needs one dependable arrangement.
Listen to the room before buying
Make a short recording with your current equipment and listen through suitable headphones at a comfortable level. Notice background sounds, reflections and changes when you move. Turn off avoidable noise sources where practical and try a different position. This establishes which problems a microphone change might help and which belong to the environment.
Do not expect a product described as professional to make a reflective room behave like a recording studio. Furnishings, distance and microphone placement can influence the result substantially. You may gain more from a workable position and a quieter routine than from moving to a more expensive model while leaving every other condition unchanged.
Understand pickup direction and placement
Read the manufacturer's explanation of the microphone's pickup pattern and the side or end you should speak toward. Some microphones are addressed from the front face, others from the end. Speaking into the wrong part can produce a disappointing result even when the equipment works correctly.
Choose a pattern and position appropriate to the intended source. Directional behavior can help manage surrounding sound, but it does not make the microphone immune to noise or room reflections. Follow the placement guidance and test the angle and distance with your own voice. The useful configuration is one you can maintain comfortably through an entire call or recording session.
Compare controls you will use daily
A physical mute control can be valuable for calls, especially when its state is clearly visible. Gain controls and headphone monitoring may also be useful, depending on the workflow. Check what each control affects and whether the meeting application reflects the same state. A mute light on one device should not be assumed to describe every microphone connected to the computer.
Look for controls that are easy to reach without bumping the microphone or stand. If settings require companion software, confirm that it works in your environment. A simple device with accessible controls may be more practical than a feature-rich model whose important adjustments remain hidden inside an application you rarely open.
Consider monitoring and delay
If you need to hear yourself while recording, check whether the microphone provides a headphone connection and how its monitoring works. Direct monitoring can offer a different experience from listening through software, where processing may introduce delay. Read the exact product's documentation rather than assuming that every headphone socket behaves identically.
For ordinary calls, your priority may instead be hearing other participants clearly without feedback or echo. Test the microphone alongside your chosen headphones or speakers. The microphone purchase is part of an audio system, and the output arrangement can affect the result. Keep the complete use case in view rather than evaluating the microphone in isolation.
Plan the stand and desk layout
A small supplied stand may place the microphone too far away or transmit desk movement into the recording. A boom arm or another mounting arrangement can help in some setups, but it adds space, attachment requirements and cost. Check the microphone's weight and mounting compatibility before buying accessories.
Think about the keyboard, screen and camera position. A microphone that sounds best directly in front of you may block the view or interfere with typing unless it can be positioned appropriately. Choose a layout that you can use naturally. An acoustically promising position is less useful if it requires an uncomfortable posture throughout every meeting.
Check connection and software compatibility
Confirm the supported computer or mobile-device connection and any adapter requirements. A USB connector alone does not establish compatibility with every device. If a hub is involved, test the intended arrangement and follow the manufacturer's guidance. Keep the supplied cable information available so a replacement can be chosen appropriately.
Determine whether basic recording works without special software and which features require additional applications. In a managed workplace, installation restrictions can affect the practical value of advanced controls. Verify those requirements before purchase. Do not assume that a demonstration on one operating system represents the exact experience on another.
Treat recording specifications in context
Sample-rate and bit-depth figures matter in some production workflows, but they do not substitute for suitable placement, low noise and clear speech. For routine conferencing, the platform may process the signal in ways that limit the relevance of the microphone's highest recording mode. Compare specifications against the actual output you need.
Avoid choosing by an isolated maximum number while ignoring everyday usability. If you produce audio for a particular delivery standard, confirm the required format and the software path used to create it. If you mainly join calls, focus on intelligibility, consistency and controls that make participation easy.
Test with a repeatable speaking sample
After purchase, record the same short passage at a consistent distance and ordinary speaking level. Include a few pauses so you can hear background noise, and try the normal movements you make during calls. Compare at similar playback loudness, because louder audio can seem better even when the underlying clarity is unchanged.
Test the complete workflow, including mute, input selection and reconnecting after sleep if relevant. Keep a note of settings that work. The right USB microphone should help you sound clear with a setup you can repeat comfortably. It is a tool for a real room and routine, not a substitute for them.