Choose a Webcam Around Your Lighting and Meeting Space
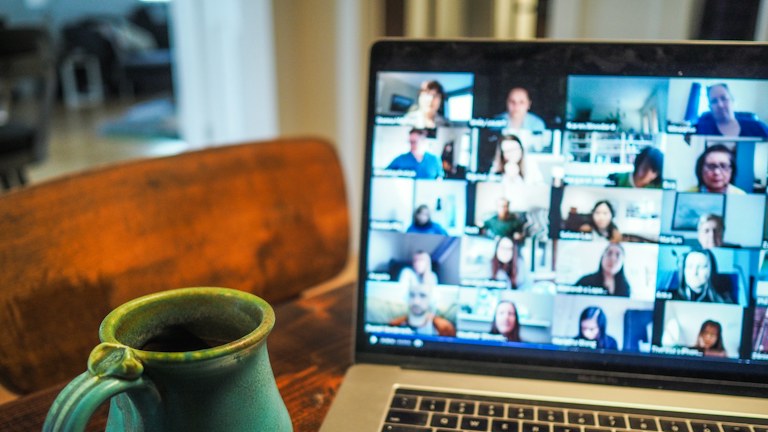
Photo: Chris Montgomery / Unsplash License. Stock photograph for illustration; no product endorsement is implied.
A webcam upgrade is often purchased to solve a problem that begins somewhere else. A bright window behind the desk, a low camera angle or a noisy microphone can make a call feel poor even when the camera's headline resolution is high. Before buying, identify which part of the picture or experience you actually want to improve.
This guide focuses on selection criteria and a practical acceptance test. It does not claim that we have tested particular models. Compare the exact camera's current specifications and compatibility notes, then evaluate it in the room and meeting software you use rather than treating a promotional image as a prediction of your own calls.
In this guide
- Inspect your current setup first
- Treat resolution as one part of the picture
- Choose a suitable field of view
- Understand focus and exposure behavior
- Check mounting and connection details
- Evaluate microphones separately
- Consider privacy controls and software needs
- Plan a fair comparison after purchase
- Choose for repeatable everyday use
Inspect your current setup first
Make a short sample call or recording with the equipment you already own. Look at the image during the hours when you normally meet. Note whether the problem is softness, poor exposure, an awkward angle, excessive background or inconsistent focus. If possible, compare what you see locally with what another participant actually receives.
Try simple environmental changes before buying. Face a useful light source instead of placing it behind you, move the camera closer to eye level and reduce distracting background clutter. These changes may improve the result enough to clarify what a new webcam still needs to provide. They also make a later comparison fairer because the new camera will not receive credit for a better room arrangement.
Treat resolution as one part of the picture
Higher capture resolution can be useful, particularly when cropping or recording locally, but it is not the only determinant of a clear call. Lighting, optics, exposure behavior and the conferencing platform's transmission conditions also matter. Check what resolution and frame rate your actual software supports in the intended mode.
Avoid assuming that the maximum specification will be used in every meeting. Network conditions and platform settings can affect what reaches other participants. If your main use is ordinary conversation in a small video tile, consistent exposure and natural framing may matter more than the highest available pixel count. Define the use before paying for a capability you may rarely see.
Choose a suitable field of view
A wide view can include several people or show a workspace, but it can also reveal more of the room than you want. A narrower view may suit one person at a desk. Consider the distance between your face and the camera, the size of the room and whether the software provides reliable cropping or framing controls.
Do not rely on automatic framing to solve every composition problem. Check how the feature behaves when you move, another person enters or the background contains activity. If privacy or consistency matters, the ability to choose a stable manual frame may be valuable. The best field of view is the one that includes the intended subject without unnecessary distraction.
Understand focus and exposure behavior
Autofocus can help when your distance from the camera changes, but frequent focus hunting can be distracting. A fixed-focus design may be adequate for a stable desk position if its intended working range suits you. Look for documentation and detailed examples that match your use rather than assuming one approach is always superior.
Exposure matters when the room contains bright and dark areas. Test whether the camera keeps your face readable without constantly changing brightness. If manual controls are available, determine whether they require companion software and whether that software works on your computer. A feature that cannot be configured in your work environment has limited practical value.
Check mounting and connection details
Examine how the camera attaches to your monitor or laptop. A bulky mount can obscure part of a thin screen, and a camera perched insecurely may move when you adjust the lid. If you prefer a separate stand, confirm the supported mounting method and include its cost and desk space in the decision.
Check the cable length, connector and any adapter required. A camera placed at a better angle may be farther from the computer than you expect. Avoid stretching a cable across a walkway or putting strain on a port. If you intend to use a hub, verify the complete setup because the camera shares the connection with other devices.
Evaluate microphones separately
A webcam's built-in microphone can be convenient, but picture quality does not predict audio quality. Listen to a sample in your actual room. Background noise, distance and reflections can affect speech clarity. If you already use a suitable headset or microphone, the webcam's audio features may be less important.
Confirm which microphone the meeting application selects when the camera is connected. Adding hardware can change default devices and create confusion even when everything works individually. A clear routine for selecting camera, microphone and speakers is useful, especially on a shared computer. Test mute behavior and avoid assuming that a camera's privacy control also mutes audio.
Consider privacy controls and software needs
A physical lens cover can provide a straightforward visual check that the camera is covered, but read what the product's controls actually do. Some privacy features depend on software. Understand the difference between covering the lens, disabling video in an application and disconnecting the device.
Review the companion application's permissions, update requirements and compatibility. If the webcam's most important features require software that your organization does not allow, choose accordingly. Basic operation and advanced controls may have different requirements. Prefer clear documentation and a support route that can answer questions about your exact operating system and conferencing application.
Plan a fair comparison after purchase
Use the same seat, lighting and application settings when comparing the new camera with the old one. Test ordinary movement, looking down at notes and holding up an object if those actions are part of your calls. Inspect the image at a normal viewing size rather than only enlarging still frames until every difference looks dramatic.
Ask another participant about the received image and sound. Local previews may not reflect the entire call experience. Record the conditions if you find a problem so support can help reproduce it. Complete the comparison while the return period is active and keep the purchase documentation until you are satisfied with compatibility.
Choose for repeatable everyday use
The right webcam should improve the specific weakness you identified and remain easy to position and operate. A model with fewer headline features can be a better purchase if its framing, exposure and controls suit your routine. Conversely, a specialized recording workflow may justify capabilities that ordinary meetings do not need.
Keep the room setup in mind after upgrading. A better camera still benefits from suitable light and a sensible angle. Judge the purchase by whether colleagues can see and hear you clearly with less effort, not by whether the specification list is longer than the one on your previous device.